
WordPressのバックアップの方法として代表的なものは3つあります。
- サーバー提供会社のバックアップ機能を利用する
- WordPress標準のバックアップ方法 (Export) を使用する (非推奨)
- WordPressプラグイン (BackWPup) を使用する
各バックアップ方法のメリットデメリットと推奨されるBackWPupを使ったバックアップ方法について紹介します.
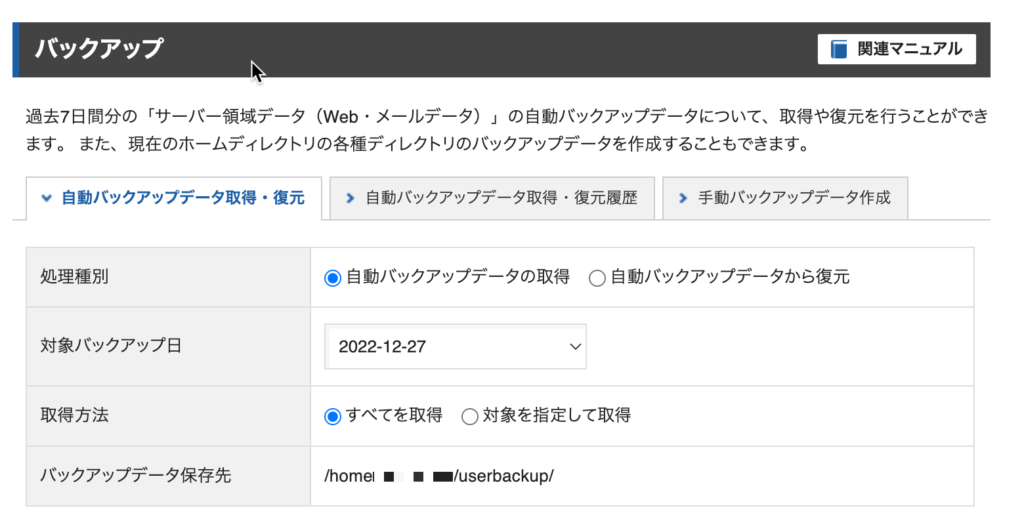
サーバー提供会社のバックアップ方法
XServerの場合、バックアップデータと保管期間は以下のようになっています。基本的にはこちらの機能を用いることで、トラブルから復元するのが良いでしょう。
- Webデータ(WordPressなど)・メールデータ:7日間(最新バージョンのサーバーは14日間。他のサーバーも順次14日に対応予定)
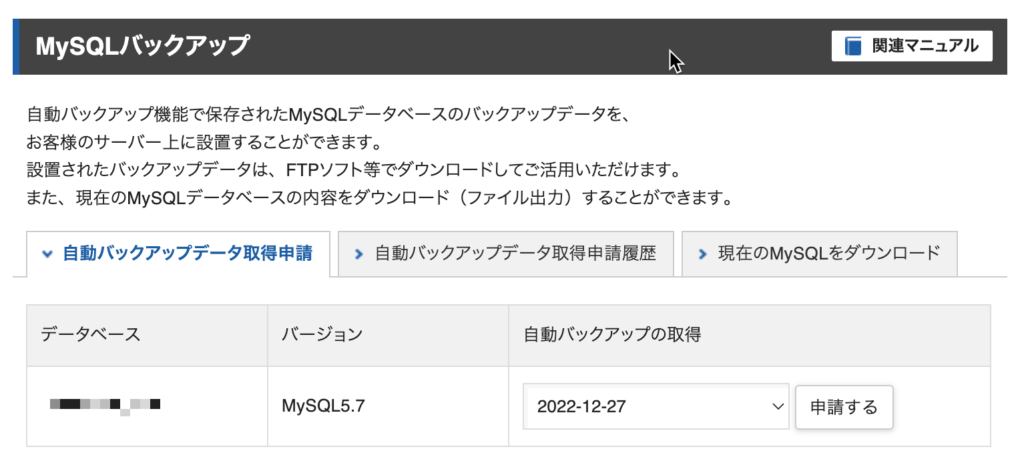
- MYSQLデータベース:14日間
バックアップ自体は過去7日分まで保存されているので、必要になったタイミングで取得申請を行います。これらバックアップデータの取得・バックアップデータからの復元は管理画面から行えます。
また、サーバー領域データとMySQLはそれぞれ別のバックアップデータとして管理されているようです。
WordPress標準の方法でバックアップする (非推奨)
以下の方法でバックアップを取得できます。
- WordPress管理画面でツール > エクスポート でエクスポートする内容を選択
- エクスポートファイルをダウンロードをクリック
しかし、この方法ではプラグインのデータも含めたすべてのデータをバックアップ出来るわけではないため、推奨されません。
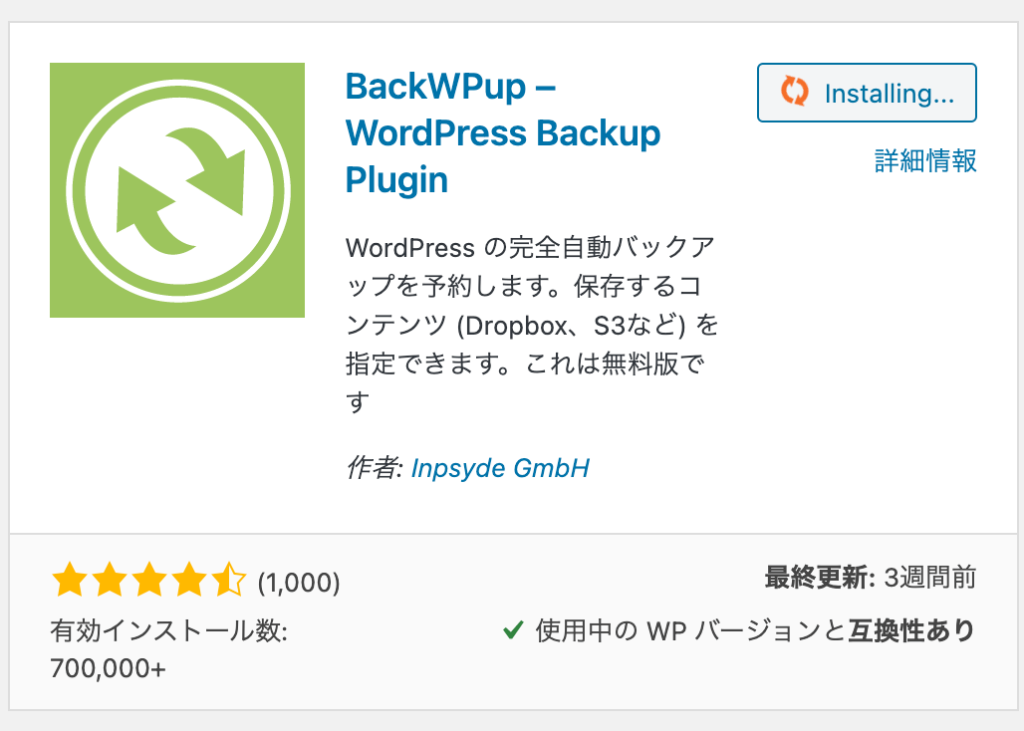
WordPressプラグイン (BackWPup) を使用したバックアップ方法
インストールと有効化
プラグイン > BackWPupを検索 > 今すぐインストールからインストールし、Activateします。
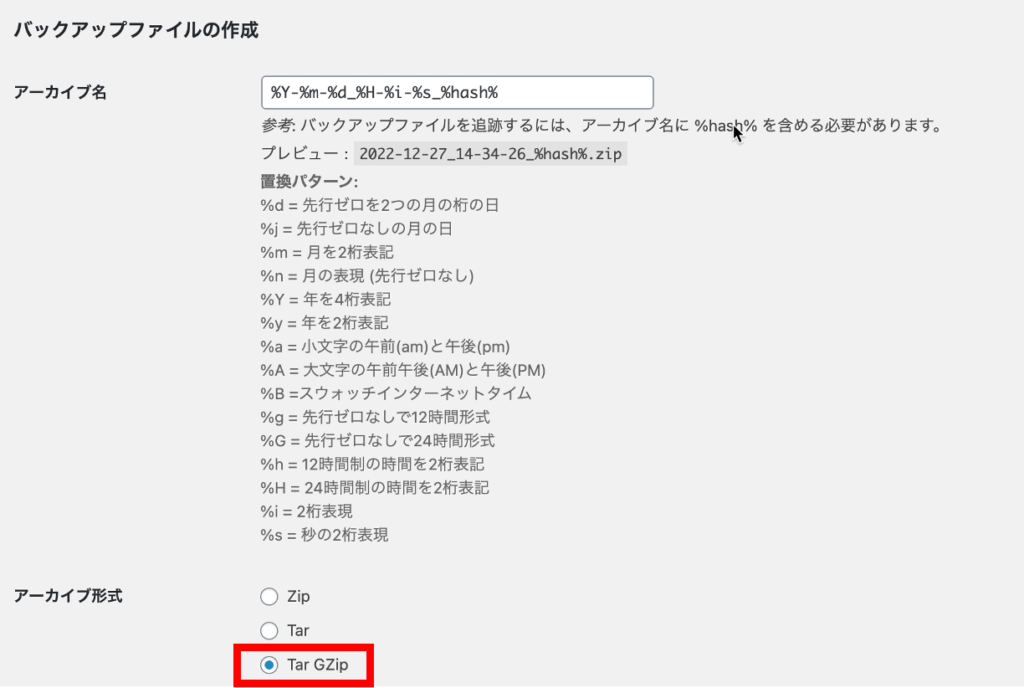
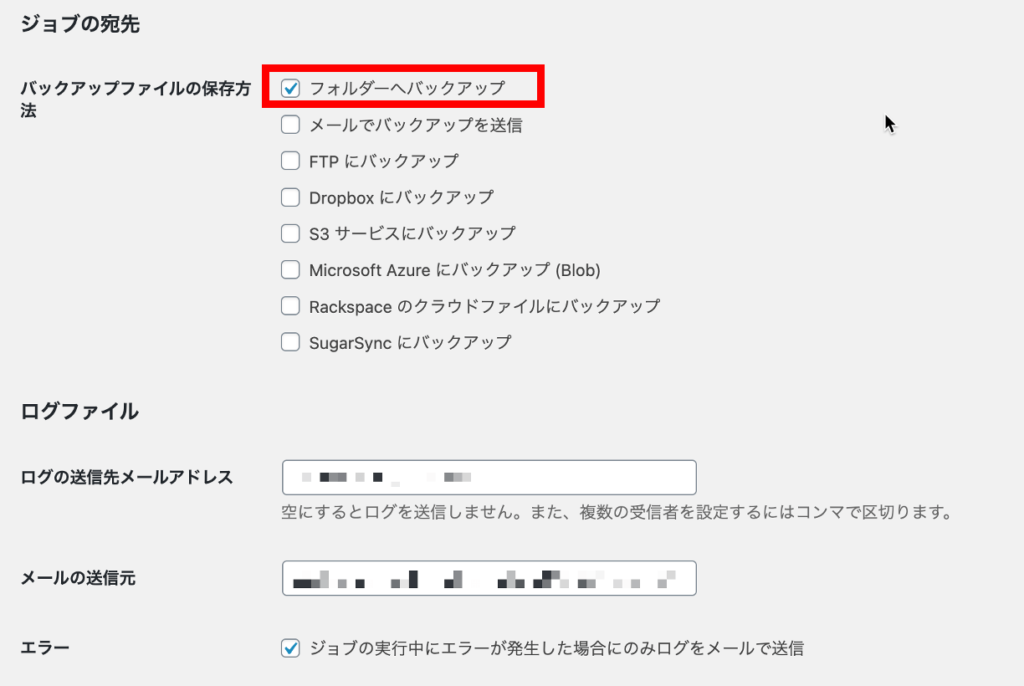
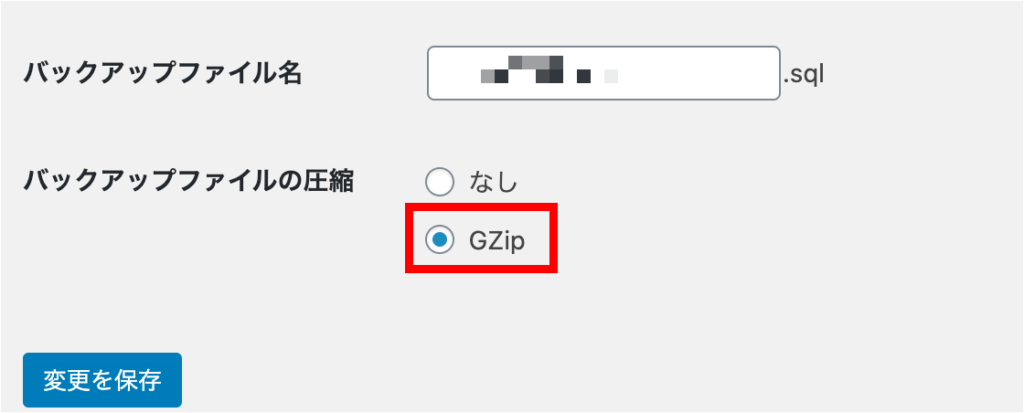
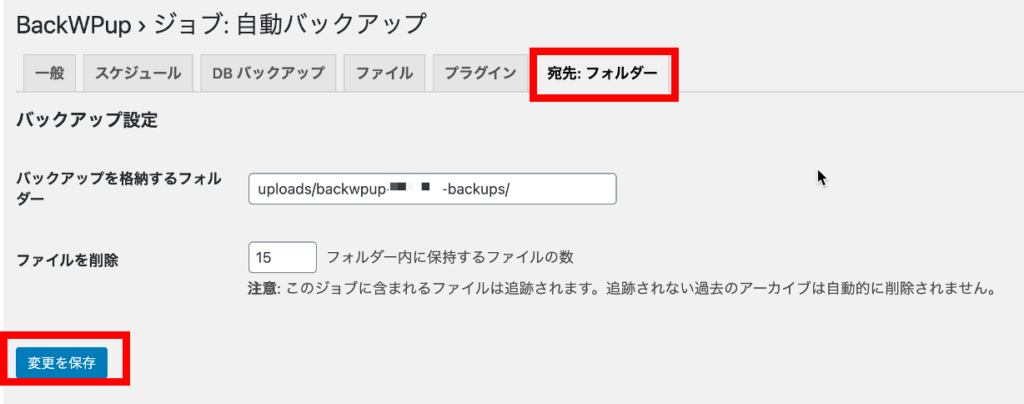
自動バックアップの設定
管理パネル > BackWPup > 新規ジョブを追加
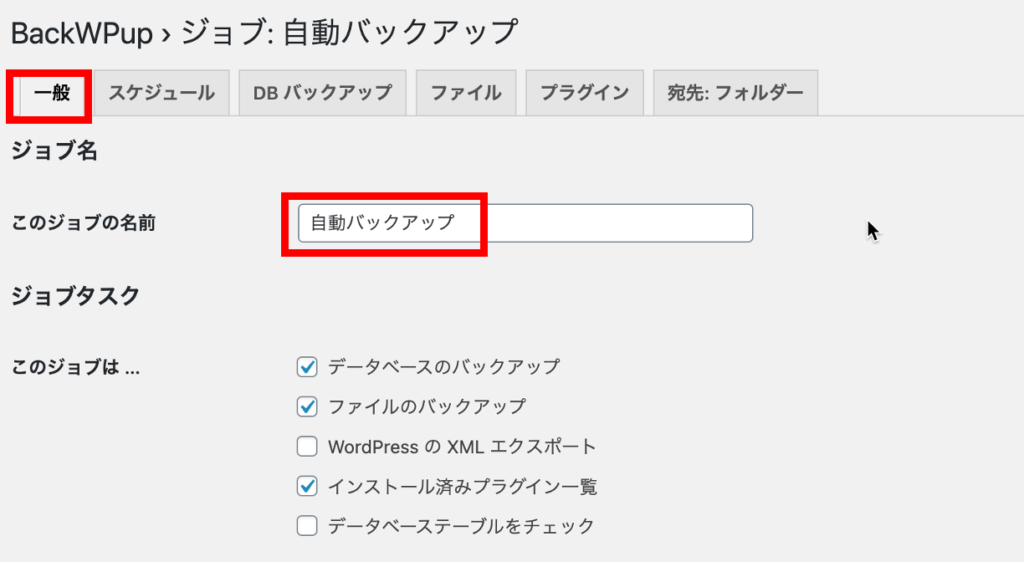

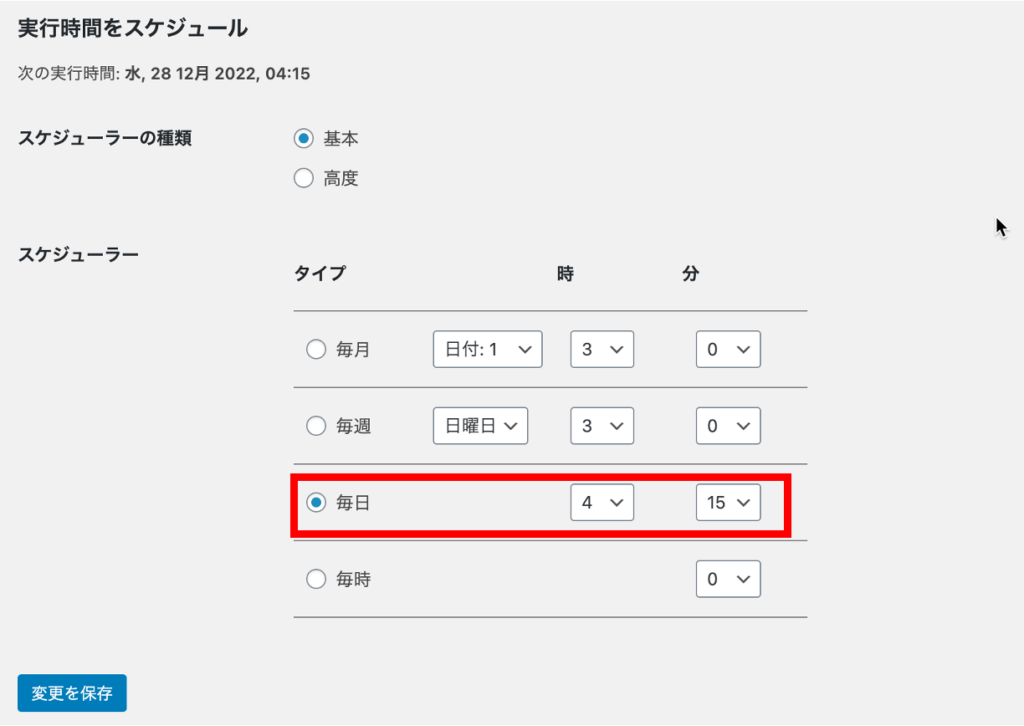

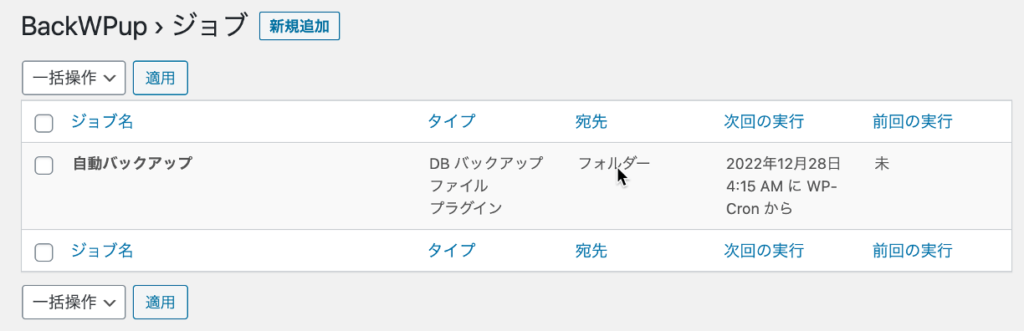
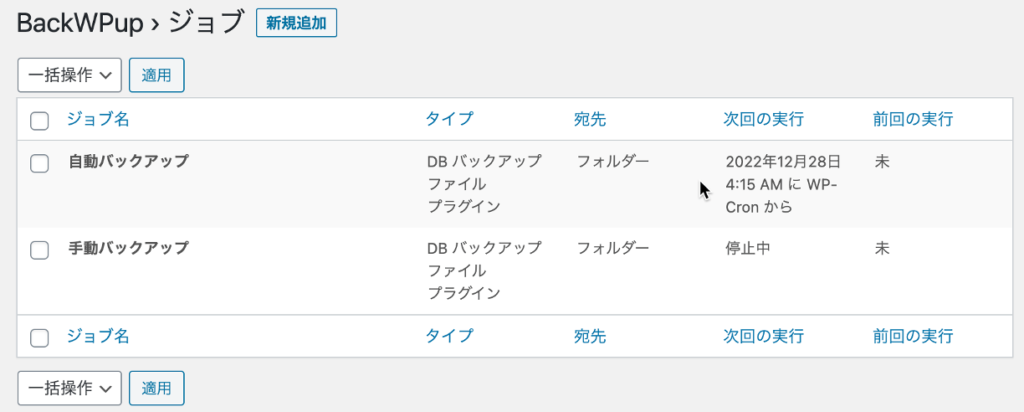
管理パネル > BackWPup > ジョブ で以下のように作成したジョブが追加されていれば成功です。
手動バックアップの作成
任意のタイミングでバックアップを取得できるように、手動バックアップの設定も作成します。
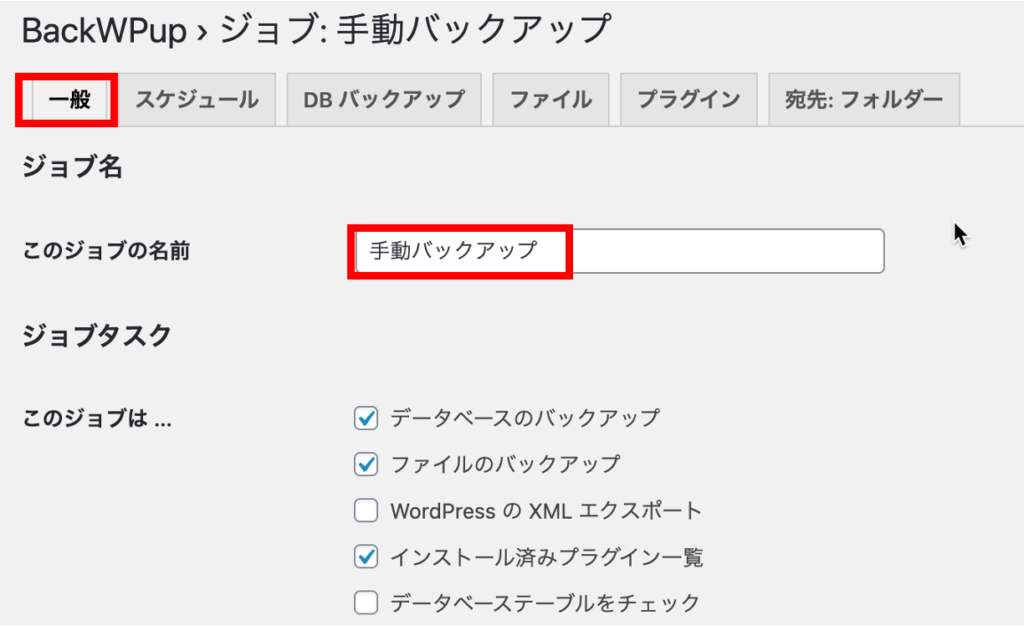
管理パネル > BackWPup > 新規ジョブを追加 で新規ジョブ作成画面に移ります。
以下の2点以外はすべて自動バックアップで設定した内容と同じにします。
- このジョブの名前
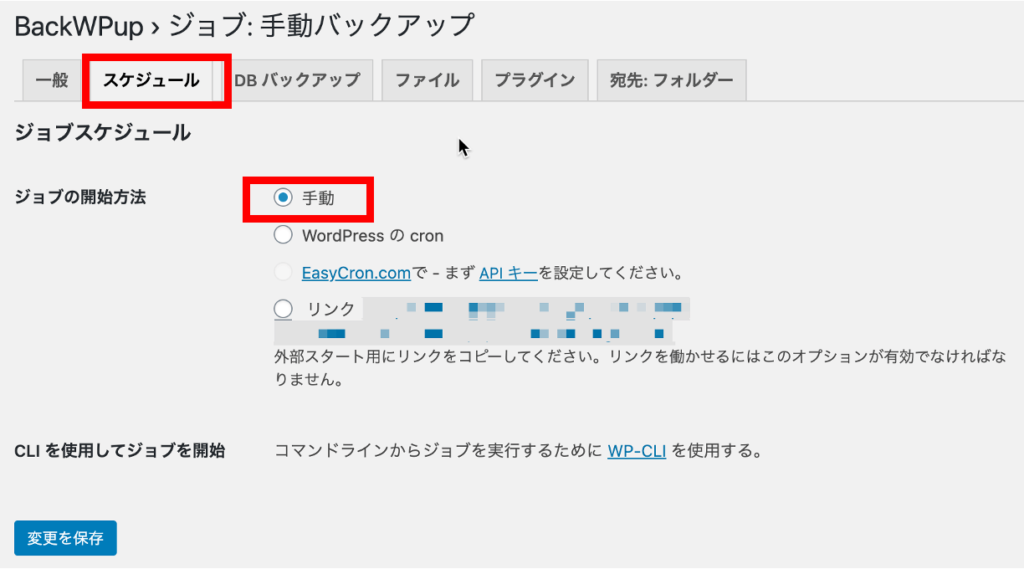
手動バックアップ - ジョブの開始
手動
ジョブが追加されていれば成功です。
手動バックアップの実行

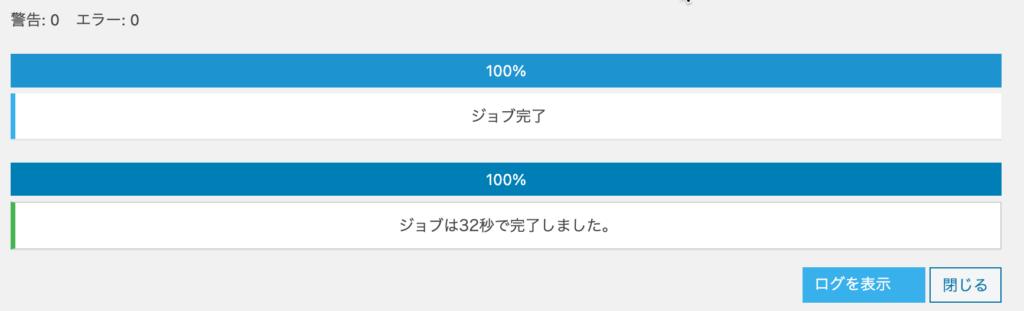
以下のように進捗バーが100%まで到達すれば完了です。
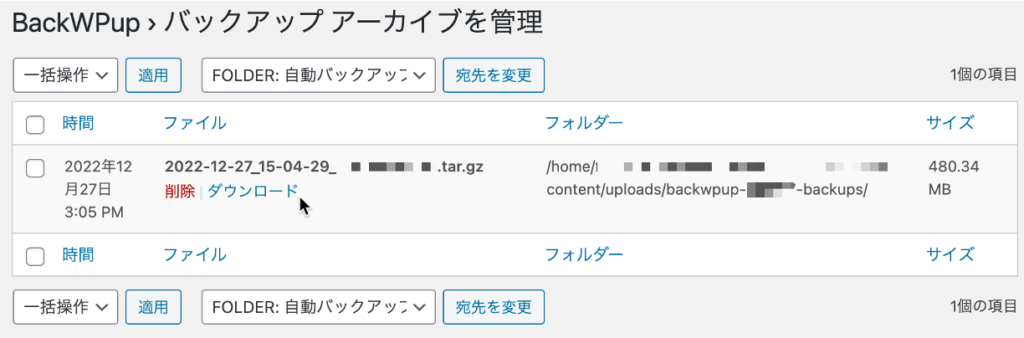
管理パネル > バックアップ にダウンロードされたファイルの一覧が表示されています。対象のファイル上でダウンロードすればローカルにダウンロード出来ます。
作成されたバックアップは、サーバーの障害も想定してローカルまたはクラウドストレージサービス等に保存しておくのも良いでしょう。BackWPupの有料オプションでは、バックアップの作成先として、Google Cloud StgorageやAWS等のクラウドストレージサービスへの保存も可能になります。こちらも検討してみてください。